In recent years, water wave crochet hair has become a popular choice for those looking to achieve a natural and effortlessly beautiful look.
This versatile hairstyle provides a perfect balance between style and convenience. You’ve come to the perfect location if you want to enjoy the beauty of water wave crochet hair.
We’ll lead you through the step-by-step procedure of putting water wave crochet hair in this detailed tutorial, assuring a faultless and long-lasting outcome.
Understanding Water Wave Crochet Hair
Before diving into the installation process, it’s essential to have a solid understanding of what water wave crochet hair is, especially when using popular brands like Freetress Water Wave Crochet Hair.
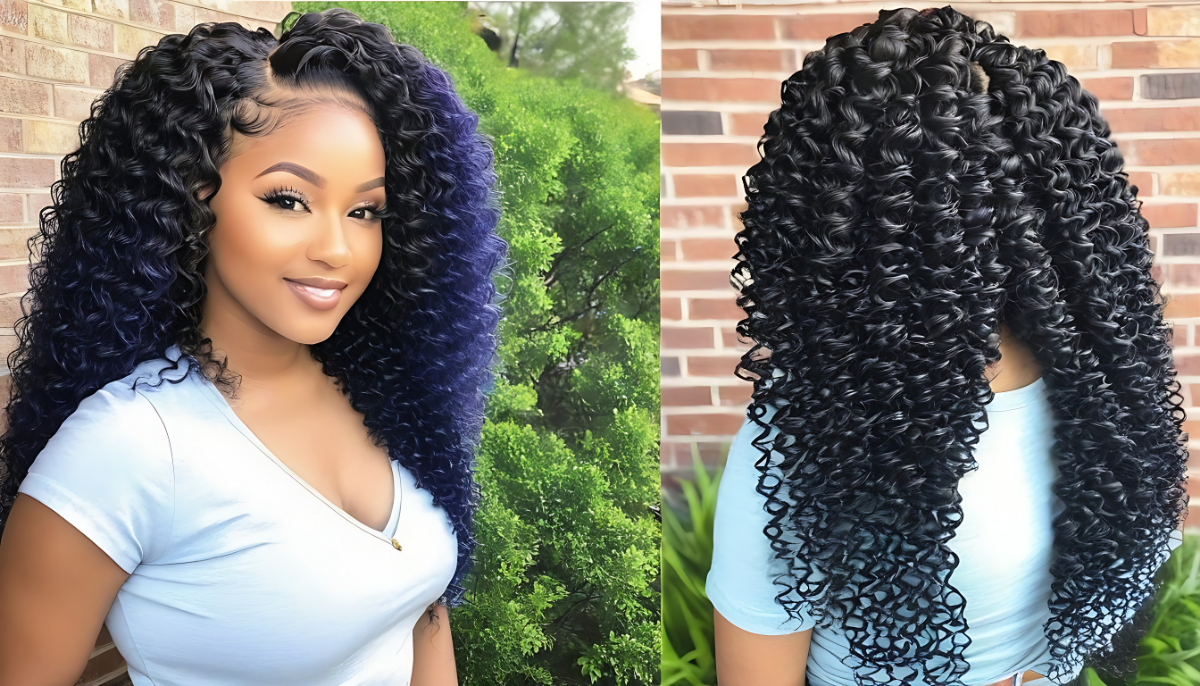
This particular hairstyle features loose, natural-looking waves that mimic the texture of wet hair. The hair strands are looped onto a crochet hook and then secured onto your natural hair using the crochet braiding technique. This method offers a protective style that promotes hair growth while allowing for various styling options.
Choosing the Right Water Wave Crochet Hair
Selecting the Perfect Hair Type
When it comes to water wave crochet hair, not all options are created equal. Choosing the right hair type is crucial for achieving the desired look. Opt for high-quality synthetic or human hair extensions that closely match your natural hair texture and colour.
Maintain the longevity and appearance of your water wave crochet hair, whether it’s grey water wave crochet hair or another colour, by moisturizing your scalp regularly.
Consider Hair Length and Density
The length and density of the water wave crochet hair play a significant role in determining the final look. If you prefer a more voluminous appearance, go for thicker strands. For a more natural look, choose a length that complements your facial features and personal style.
Choose a length and density that complements your facial features and personal style, whether it’s red water wave crochet hair or another vibrant colour. When securing the crochet needle onto your natural hair, use high-quality products such as Zury Water Wave Crochet Hair for a seamless and stylish finish.
Preparing Your Natural Hair
Wash and Condition Your Hair
Begin the installation process by washing and conditioning your natural hair. Clean, moisturized hair provides a solid foundation for the crochet braiding technique. Use a sulfate-free shampoo and a hydrating conditioner to maintain the health of your hair.
Detangle Your Hair
Make sure your hair is clear of tangles and knots before braiding. Detangle your hair gently using a wide-tooth comb or your fingers, beginning at the tips and working your way up to the roots.
Braiding Techniques for Water Wave Crochet Hair
Choosing the Right Braid Pattern
The success of your water wave crochet hair installation largely depends on the braid pattern. Common patterns include straight back, zigzag, and circular.
Choose a pattern that aligns with your preferred hairstyle and natural hair growth direction. If you prefer a more voluminous appearance, go for thicker strands when choosing water wave crochet hair styles that suit your taste and fashion preferences.
Opt for high-quality synthetic or human hair extensions that come in a water wave crochet hair pack, ensuring they closely match your natural hair texture and color.
Creating Small and Neat Braids
The key to a seamless water wave crochet hair installation lies in the neatness of your braids. Ensure that your braids are small, even, and close to the scalp.
This provides a sturdy base for attaching the crochet hair extensions. Ensure that your braids are small, even, and close to the scalp, providing a sturdy base for attaching extensions such as Model Model Water Wave Crochet Hair.
Experiment with different styles like the water wave crochet hair passion twist, adding a unique and trendy twist to your overall look. The length and density of the water wave crochet hair play a significant role in determining the final Caribbean water wave crochet hair look.
Installing Water Wave Crochet Hair
Preparing the Crochet Needle and Hair
Gather your crochet needle and water wave crochet hair extensions. Ensure that the crochet needle is smooth and free from any rough edges that could snag your natural hair. Separate the water wave hair into manageable sections for easier installation.
Securing the Hair with the Crochet Needle
Begin the installation process by securing the crochet needle to your natural hair. Take a small section of your braided hair, insert the crochet needle through the braid, hook the water wave hair, and close the latch. Pull the hair through the braid, leaving a small loop.
Looping the Hair Through
With the loop created, pull the ends of the water wave hair through the loop, forming a tight knot around the braid. Ensure that the knot is secure but not too tight to prevent unnecessary tension on your natural hair.
Repeat the Process
Continue the crochet braiding process, working your way around your head and ensuring consistent spacing between each water wave crochet hair extension.
Take your time to maintain the neatness and integrity of the braids. Once the installation is complete, experiment with different Freetress water wave crochet hair styles, such as half-up, half-down looks or braided updos.
Styling and Maintenance Tips for Water Wave Crochet Hair
Caring for Your Crochet Hair
Once the installation is complete, proper care is essential for preserving the longevity and appearance of your water wave crochet hair. Moisturize your scalp regularly, and avoid excessive manipulation to prevent frizz and tangling.
Experimenting with Styles
The beauty of water wave crochet hair lies in its versatility. Experiment with different styles, such as half-up, half-down looks, braided updos, or simply letting the waves cascade freely. Use hair accessories to add flair and personality to your hairstyle.
Conclusion
In conclusion, installing water wave crochet hair is a creative and rewarding process that allows you to achieve a stunning, natural-looking hairstyle. By following the steps outlined in this comprehensive guide, you can master the art of water wave crochet hair installation, especially when using popular brands like Water Wave Crochet Hair Freetress, and enjoy the versatility and beauty it offers.
Remember to choose the right hair type, prepare your natural hair properly, and follow the recommended braiding and installation techniques for the best results. With a little patience and care, you’ll be flaunting your gorgeous water-wave crochet hair in no time.